Here is the remainder of what I need to do to complete the felting kits with the new alpaca design. The design needs to be put on the backing.
The first step is to trace the design on the back of the paper with a special transfer pencil. Tracing on the back is especially important if you have lettering, as the design will be reversed when ironed on the destination fabric. Place the paper with the red tracing side down on the backing and press with a hot iron.
The backing we use is an alpaca/wool quilt batting which I cut into the proper sized squares. The pencil will create a couple copies before I need to retrace the picture again. It did take a bit of practice to get the heat setting that would do the transfer without scorching the batting under the paper.
Next I go to the computer.
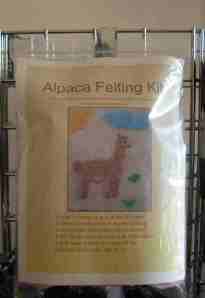
I insert the photo of the completed design into the template for the front and back of the kit. I also print a copy of the instructions for each kit.
Two felting needles are inserted into the side of the foam block to keep them from poking anything or getting broken.
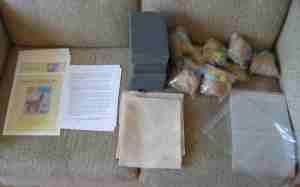
Then I create the assembly line: Front page, back page, instruction sheet, foam block with needles, printed backing, bag of pre-measured fiber and the perfect size zipper bag to hold everything.
I punch a hole in the top and the kit is ready to be hung up for sale. I will have these as well as our three other designs at Shepherd’s Choice. I’ll be doing a needle felting demonstration there on Saturday, April 14 during the Yarn Shop Hop. Stop by, watch the demo, grab a kit and make a cute little picture. All you need to add is a picture frame. I’ll soon be listing the new kits online for those who are not local.


